Cloud Browser
FeatureRun your automations on a cloud-hosted browser without needing a local Chrome installation. Execute workflows from anywhere, use residential proxies, and watch sessions in real-time.
What is Cloud Browser?
Cloud Browser allows you to run your Visual Studio workflows on a remote, cloud-hosted browser instance. Instead of opening a local Chrome window, your automation runs on a secure server with a full browser environment. This is useful when you want to:
- Run automations without a local Chrome installation
- Use residential proxies to appear as a real user from different countries
- Keep your login sessions persistent across multiple executions
- Watch your automation live in real-time from any device
- Run automations in the background without opening a browser on your machine
Key Features
Getting Started
Every plan includes cloud browser minutes. The free trial includes 10 minutes so you can try it; paid plans (Starter, Developer, Pro and Enterprise) include a monthly allocation of cloud browser minutes and residential proxy data. The residential proxy and video recording aren't available on the free trial.
1Select a Cloud Profile
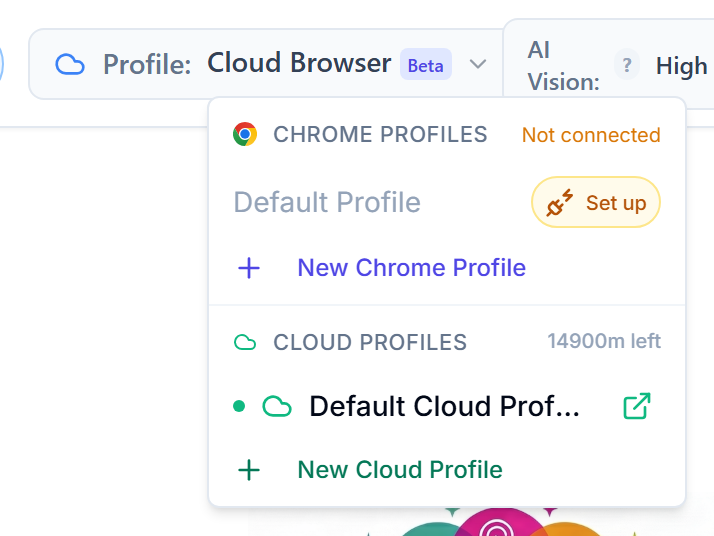
In the Visual Studio toolbar, click on the profile selector dropdown. Below your local Chrome profiles is a Cloud Profiles section listing the Default Cloud Profile and any cloud profiles you've created (use “New Cloud Profile” to add one). Select a cloud profile to use the cloud browser for your next execution. The section header shows the minutes left this month.
2Configure Settings (Optional)
Open the settings panel in Visual Studio (gear icon) and navigate to the "Cloud Browser" tab. Here you can configure the viewport size, session timeout, proxy settings, and more. These settings are saved and apply to all cloud browser executions.
3Run Your Workflow
Click "Run Workflow" as usual. The automation will execute on the cloud browser instead of locally. A "Watch Live" button will appear in the Execution Results pane, allowing you to open a live view of the browser session.
4Open a Standalone Session
You can also open a cloud browser without running a workflow. In the dropdown, click the Open icon next to any cloud profile. This launches a cloud browser session for that profile that you can use interactively — useful for manually logging into websites to establish sessions that will persist for future automations.
Settings Reference
Cloud browser settings can be configured from the Visual Studio settings panel (Cloud Browser tab) or from the general Settings dialog. All settings are saved to your account and apply automatically.
Default Viewport Size
Sets the browser window dimensions for cloud sessions. Choose from standard sizes like 1280x720 (HD), 1920x1080 (Full HD), 1440x900, or 1366x768. A larger viewport helps with websites that require more screen space, while smaller viewports can be faster for simple automations.
Session Timeout
Maximum duration (in minutes) before a cloud session automatically ends. This prevents forgotten sessions from consuming your monthly minutes. Range: 1 to 360 minutes (6 hours). Default: 10 minutes. The session will close automatically when this timeout is reached, even if a workflow is still running.
Auto-close After Execution
When enabled, the cloud browser session automatically ends after your workflow finishes executing. When disabled (the default), the session stays open after execution completes, allowing you to inspect the browser state, continue interacting, or run additional workflows on the same session. Minutes continue to be counted until the session is closed or reaches its session timeout. Scheduled workflows always auto-close, whatever this setting says.
Persist Browser Context
When enabled (default), cookies, localStorage, and login sessions are preserved between cloud browser executions. This means if you log into a website during one session, you'll still be logged in on the next session. Disable this if you want each execution to start with a fresh, clean browser state.
Auto-solve CAPTCHAs
When enabled (default), reCAPTCHA v2, hCaptcha and Cloudflare Turnstile challenges are solved automatically. Each solve counts against your plan's monthly CAPTCHA allowance (plus any top-up balance). This preference is saved to your account and applies to both cloud and local Chrome executions.
Enable Residential Proxy
Off by default. When enabled, your cloud browser traffic is routed through residential IP addresses. This makes your automation appear as regular user traffic rather than datacenter traffic, which helps avoid detection and blocks from websites. Proxy data usage counts towards your monthly proxy data allowance. The proxy isn't available on the free trial.
Proxy Location
When the residential proxy is enabled, choose which country's IP addresses to use. Available countries include: United States, United Kingdom, Germany, France, Canada, Australia, Japan, Singapore, India, and Brazil. Websites will see your requests as originating from the selected country.
Managing Sessions
Cloud browser sessions can be managed from multiple places in the interface:
Execution Results Pane
During and after workflow execution, the Execution Results pane shows a green "Cloud Active" indicator, a "Watch Live" button to open the live viewer, and an "End Session" button to close the session when execution is not running.
Profile Selector
When a cloud session is active outside of workflow execution (opened via the Open button), "Watch" and "End" buttons appear next to the profile selector in the toolbar.
Live Viewer Window
The live viewer popup window includes an "End Session" button in its header bar. Closing the viewer window does not end the session — use End Session (here or in the Execution Results pane / toolbar) so it stops using your minutes.
Tip
Usage & Billing
Cloud browser usage is measured in two ways:
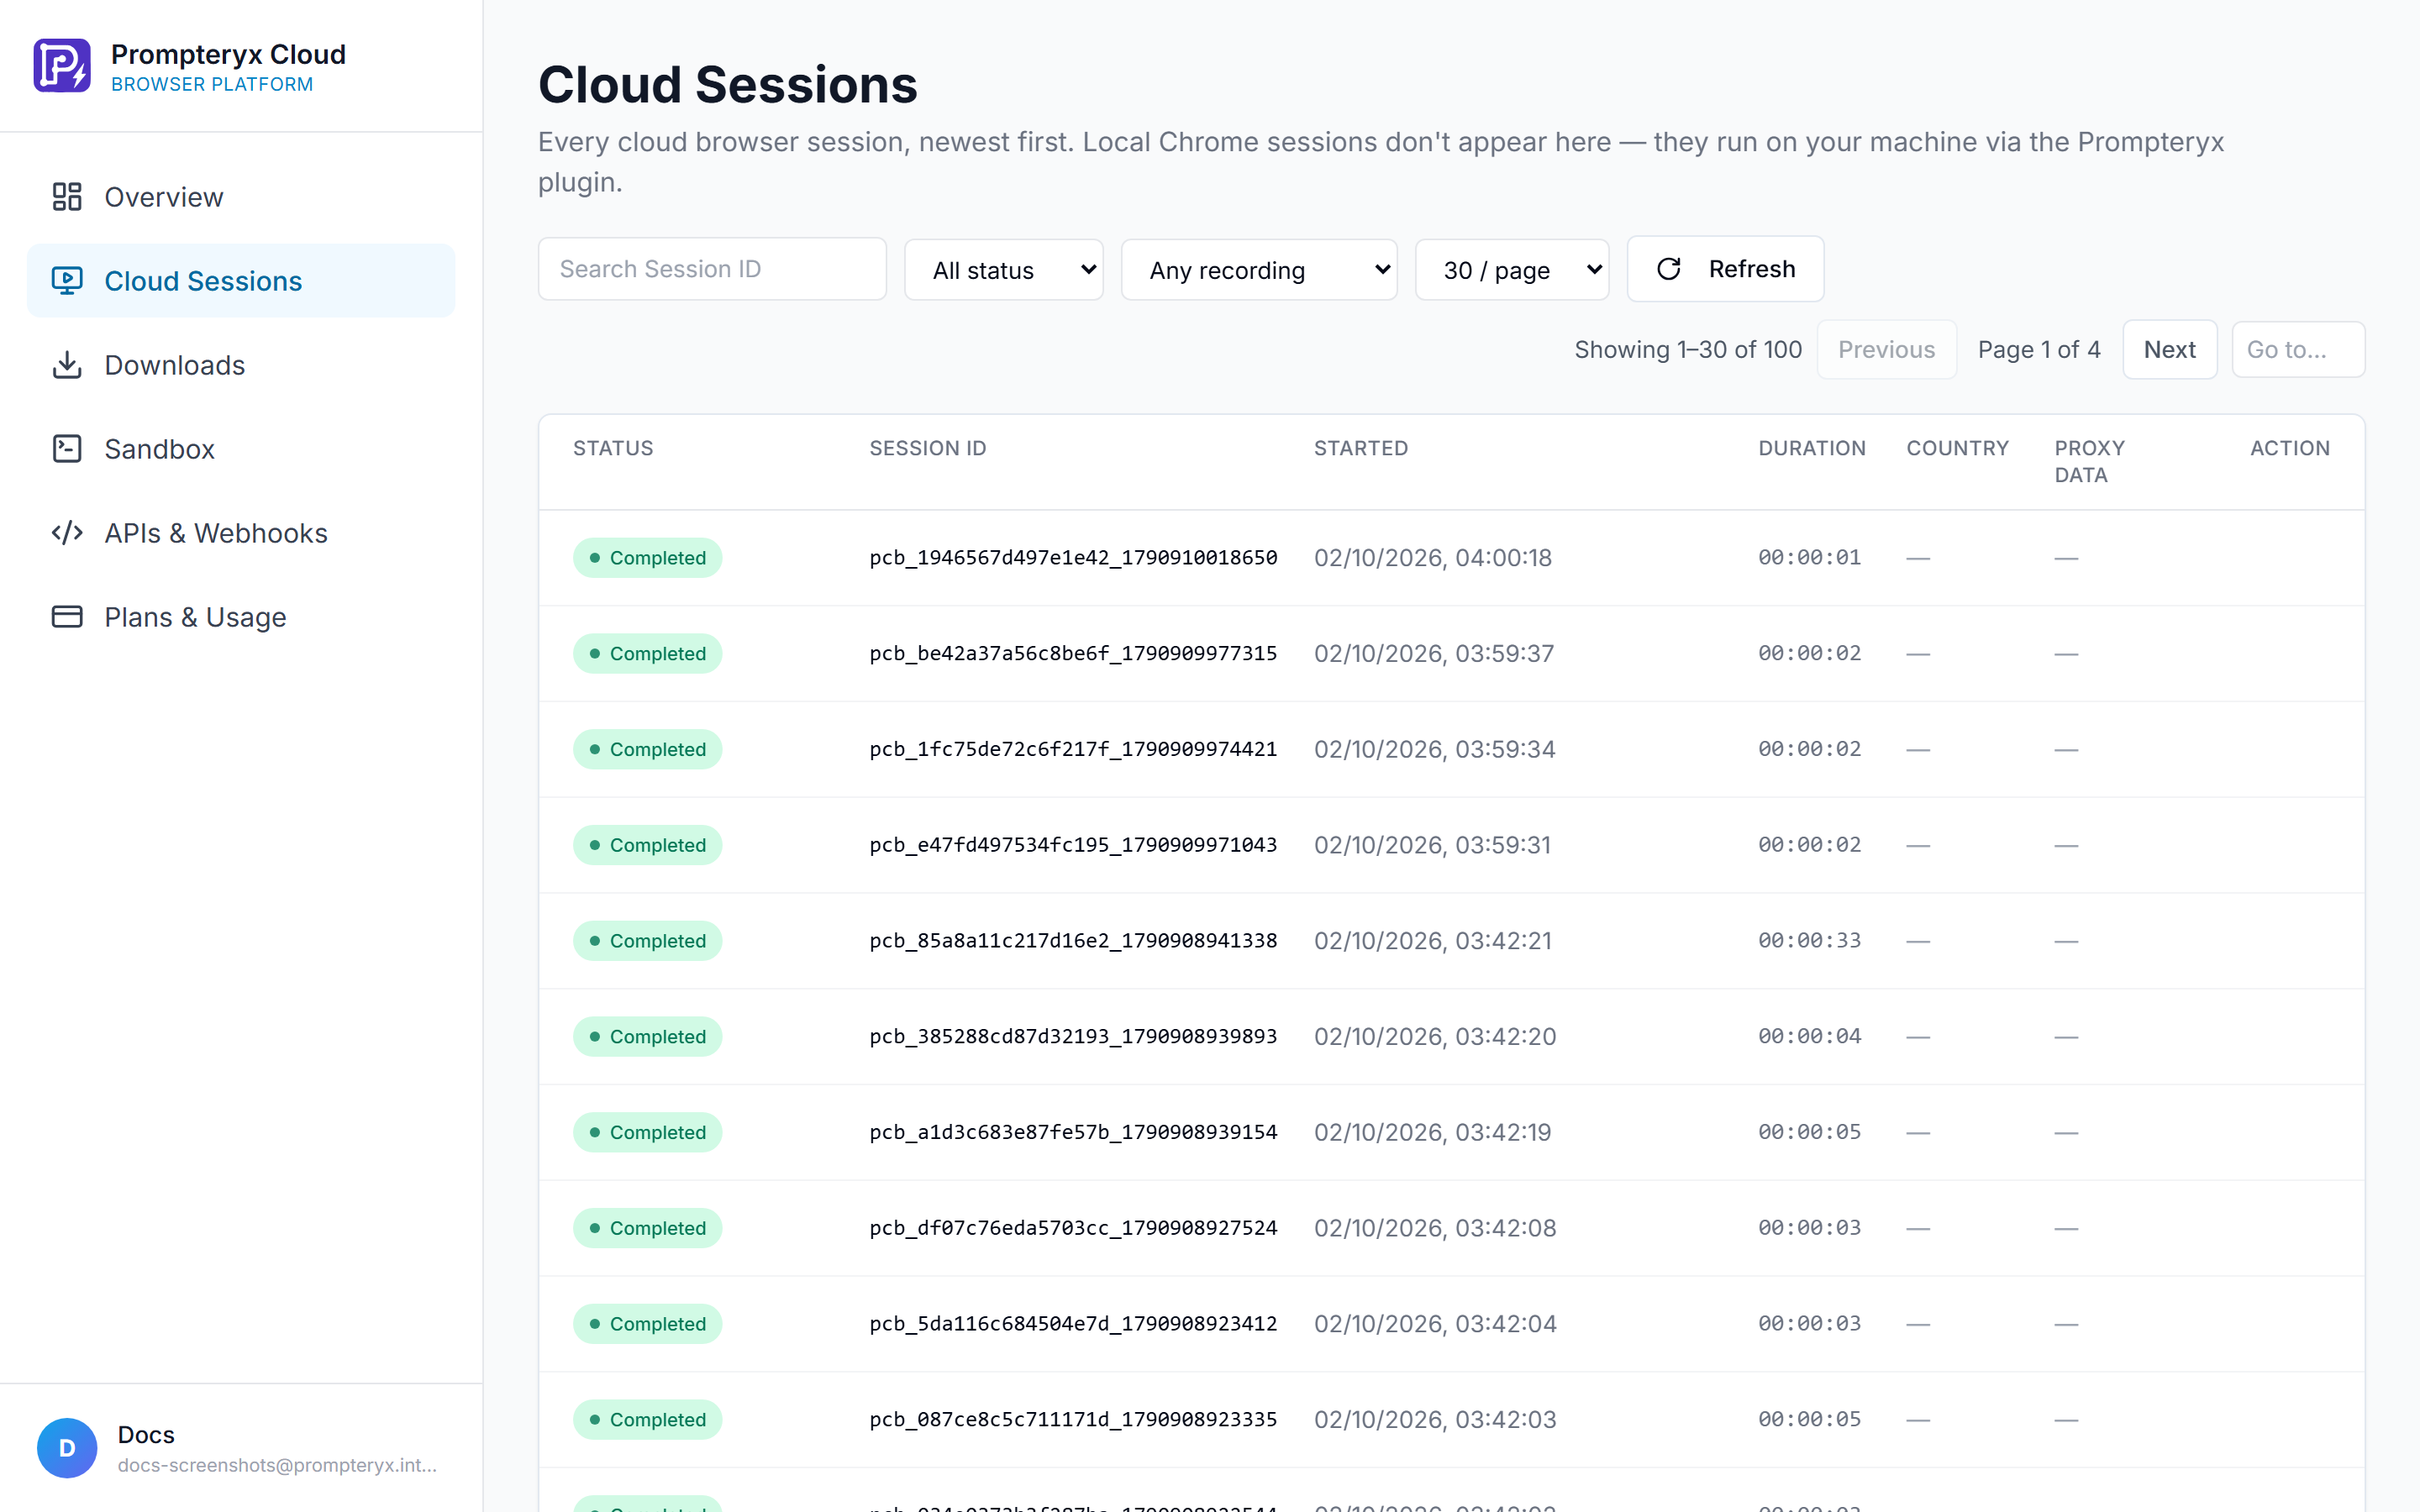
Each cloud browser session uses minutes from your monthly allocation. Time is counted from when the session starts until it ends (via auto-close, manual close, or timeout). The minimum charge is 1 minute per session. You can view your remaining minutes on the Subscription page or in the Cloud Browser settings panel.
When the residential proxy is enabled, data transferred through the proxy is measured and counted towards your monthly proxy data allowance. This includes all page loads, images, scripts, and API calls made during the session. Monitor your proxy data usage on the Subscription page.
Best Practices
Use Persistent Context for Login-Required Sites
Set Appropriate Timeouts
Choose the Right Proxy Location
Only Enable the Proxy When Needed
Screenshots & PDFs
You can capture screenshots and generate PDFs using the cloud browser, just like with a local browser profile. However, there are important differences in how files are handled.
Full-page and element screenshots are captured in the cloud and returned in the node's output. After execution, open the node's output and go to the Files tab, which shows a preview with “Open in new tab” and Download buttons. Click Download to save the file to your computer.
PDFs generated with the "Generate PDF" node are captured in the cloud and returned in the node's output. After execution, the node's Files tab shows the PDF with “Open in new tab” and Download buttons. Click Download to save the PDF to your computer.