Quick Start Guide
Your first task in the app in one minute, then your first workflow in five
Part 1: your first task in the app
Everything starts in the app. When you sign in you land on its home, with one message box.
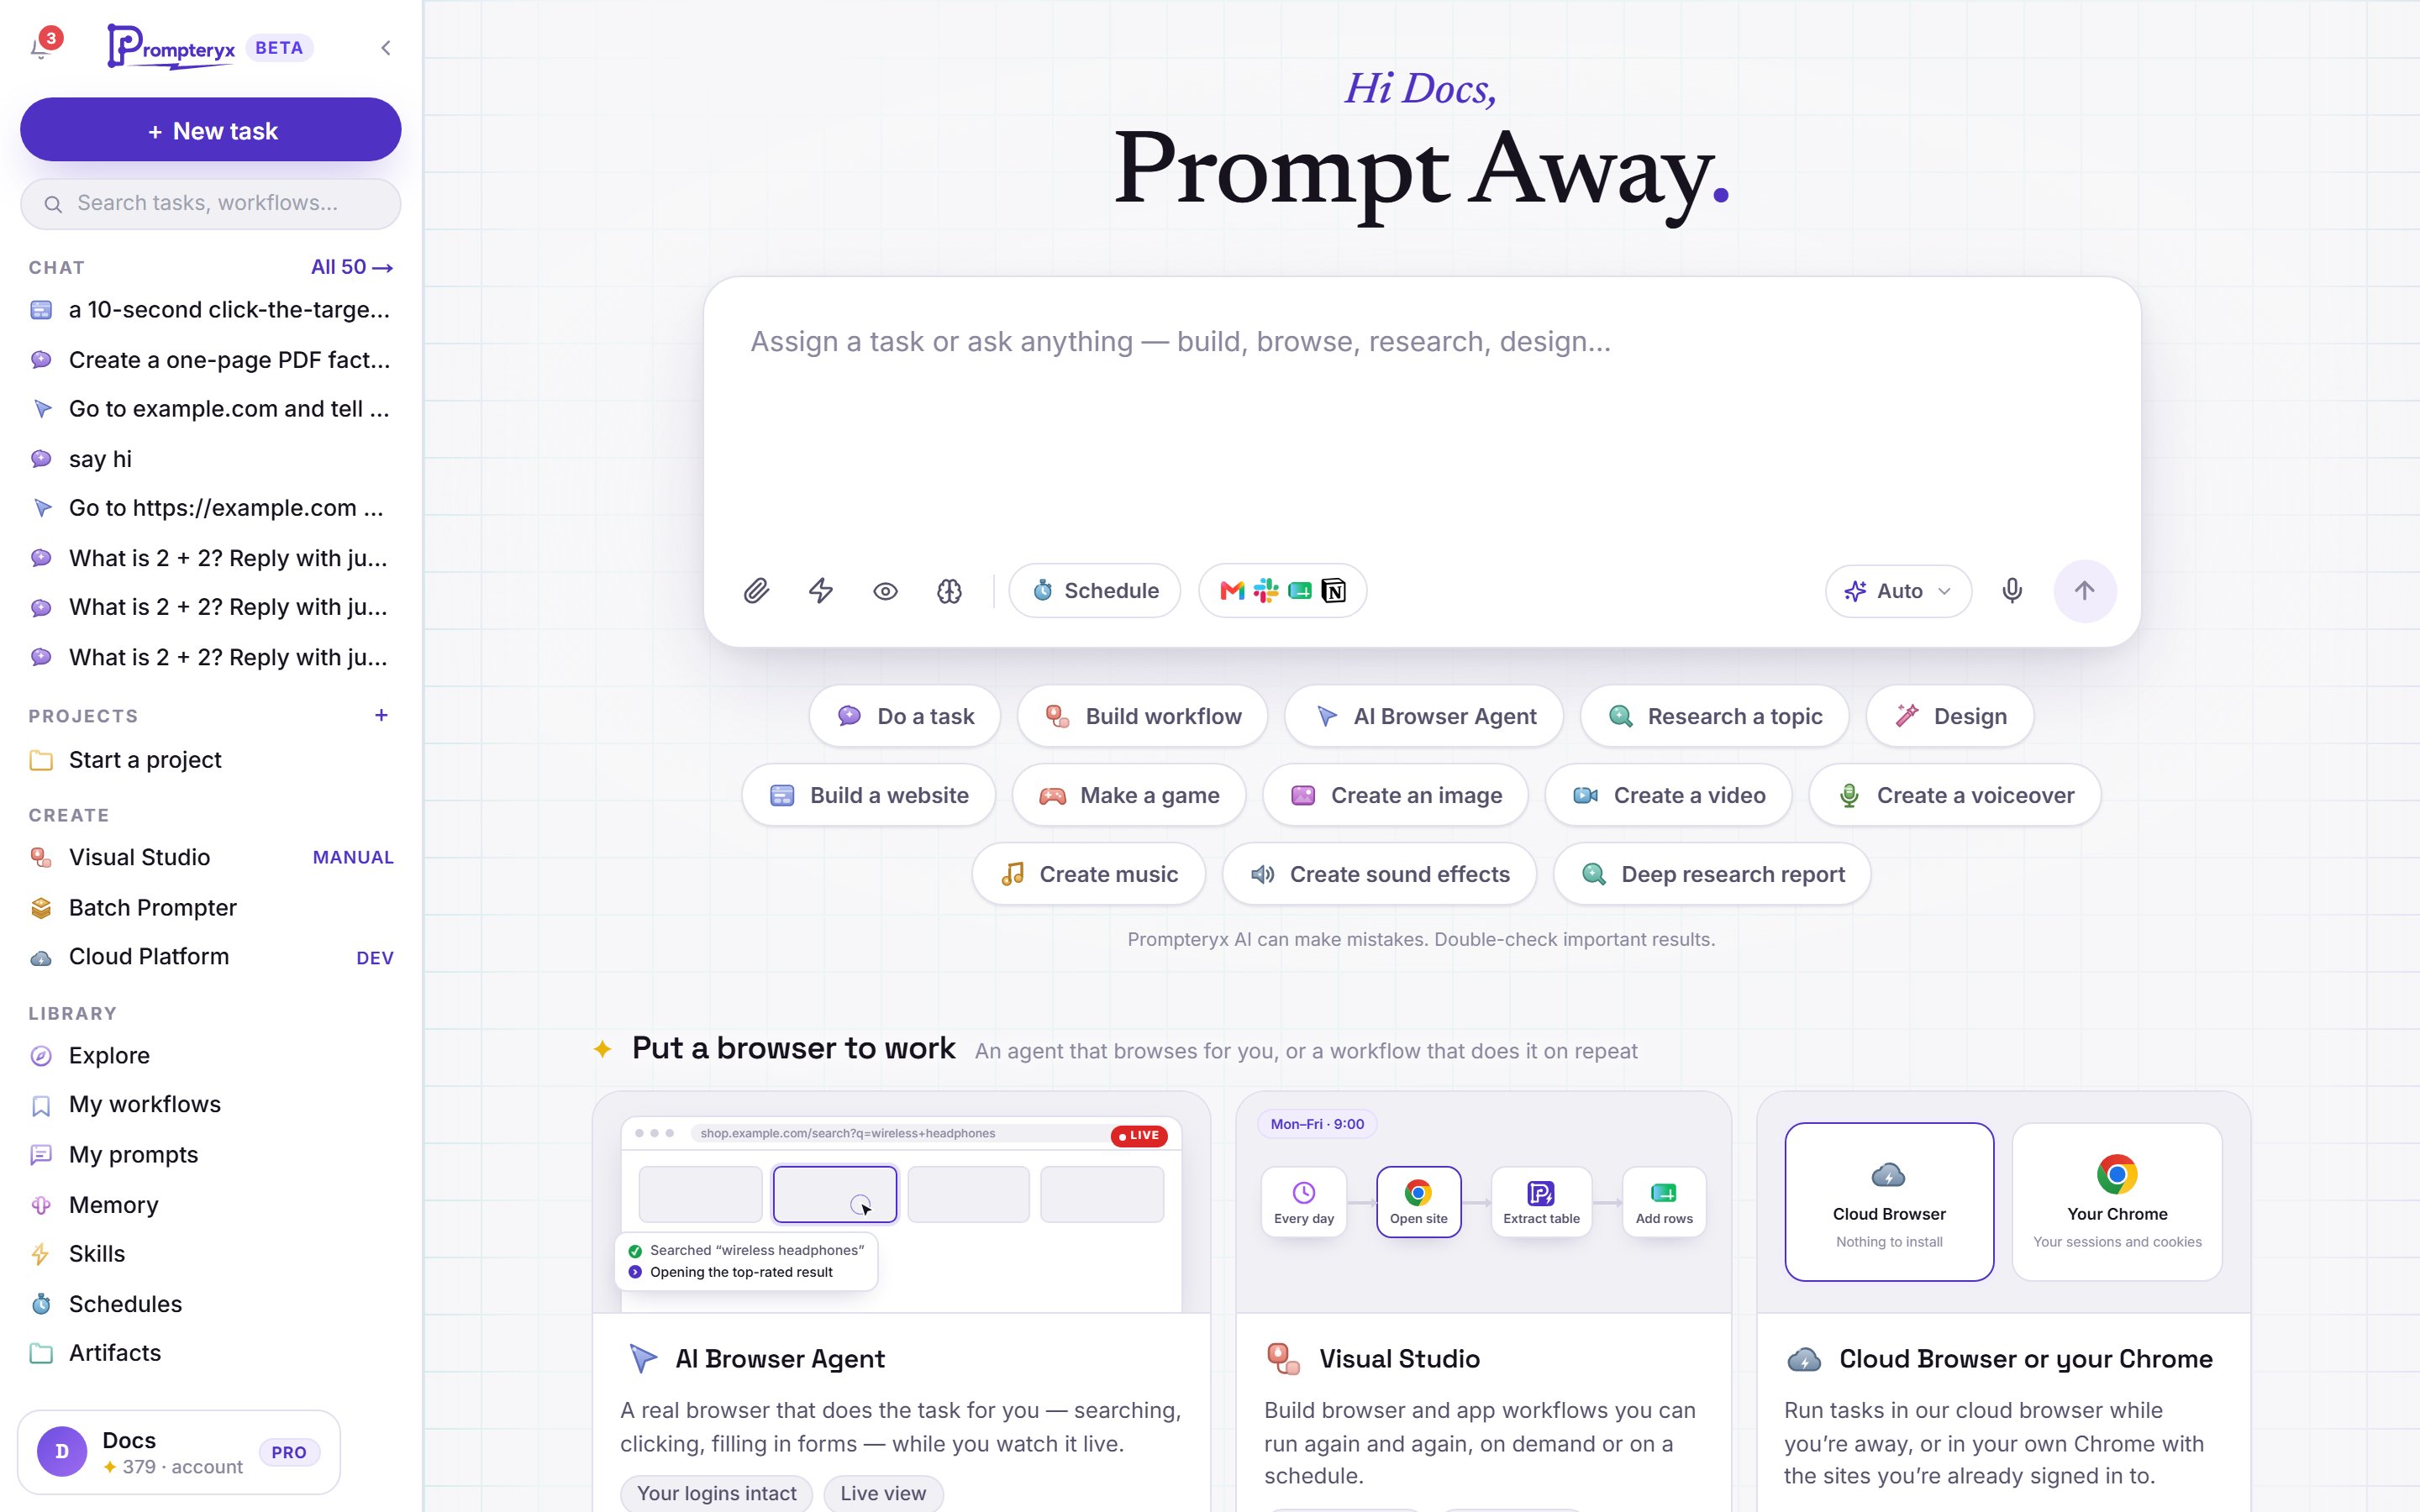
- Type Go to example.com and tell me the main heading and press Enter.
- The app sees that this needs a website and starts the AI Browser Agent. A browser opens beside the chat, and you can watch it work. Nothing needs installing: it uses a cloud browser unless you set up your own Chrome.
- The run ends with an outcome card: the answer and the steps it took, or why it didn't finish, with Try again and Try with … another model. Ask a follow-up in the same chat if you want more. A browser run can also be kept as a workflow you can edit and run again (see Recording), and Schedule in the message box repeats a task.
The same box builds websites and games, makes images, video and music, writes documents, researches with citations and uses your connected apps. See What you can make and The Prompteryx app for the full tour.
Part 2: build a workflow in Visual Studio
This part walks you through building a simple browser automation by hand: it opens a website, extracts some text, and saves it. By the end, you'll understand the basics of building workflows in Visual Studio.
Where it runs: pick Cloud Browser in the Visual Studio profile dropdown to run with nothing installed, or keep a local Chrome profile if you have Prompteryx Desktop and Prompteryx in Chrome set up.Installation guide →
Building your first automation
In the app's sidebar, under Create, click Visual Studio, or go directly to:
/visual-studioYou'll see an empty canvas, with the node library on the left containing all available nodes.
Every workflow needs a trigger to start execution. For this example, we'll use a Manual Trigger:
- Open the "Triggers" tab in the node library on the left
- Drag the Manual trigger node onto the canvas
- This node starts the workflow when you click the "Run Workflow" button
💡 Tip: Manual Trigger is perfect for testing. Later, you can use Schedule Trigger to run automations automatically.
Now add a browser node to navigate to a website:
- Open the "Browser" tab in the node library
- Drag the Open Page node onto the canvas
- Connect the Manual Trigger to the Open Page node (drag from the trigger's output handle to the Open Page input handle)
- Click on the Open Page node to open its configuration panel
- Enter a URL, for example:
https://example.com
Let's extract the page title:
- Drag the Extract Text node onto the canvas
- Connect the Open Page node to the Extract Text node
- Click on Extract Text to configure it
- In the Element Selector field, enter:
h1 - In the Variable Name field, enter:
pageTitle
This will extract the text from the first <h1> element on the page and store it in a variable called "pageTitle".
Before running, save your workflow:
- Type a name, like "My First Automation", in the workflow name field at the top left of the toolbar
- Open the "Save" menu next to it
- Choose "Save" (or "Save As..." to save a copy under a new name)
Time to run your automation!
- Click the Run Workflow button in the centre of the top toolbar
- Watch as each node executes in sequence
- The browser (your local Chrome or the Cloud Browser session) navigates to the URL and extracts the text
- Green checkmarks will appear on successfully completed nodes
Congratulations! You've created and run your first automation!
Understanding What Happened
Manual Trigger started the workflow execution
Open Page opened a browser page and navigated to your URL
Extract Text found the h1 element and saved its text to the "pageTitle" variable
The extracted text was stored in a variable called "pageTitle". You can use this variable in subsequent nodes by referencing it as {{pageTitle}}.
To see past runs and their extracted data, switch the Editor / History toggle at the top right of Visual Studio to "History".
Next Steps: Expand Your Automation
Now that you've created a basic automation, try adding more functionality:
Click on buttons or links on the page
Learn about Click nodes →Type text into forms and input fields
Learn about Fill nodes →Send data to external services like Gmail, Slack, etc.
Explore integration nodes →Use IF nodes to make decisions based on data
Learn about conditional logic →